How to Make a Cat in the Hat Costume with Pop-Up CatsM
M
In 30 Cool Hand Drawn Steps
playful parenting
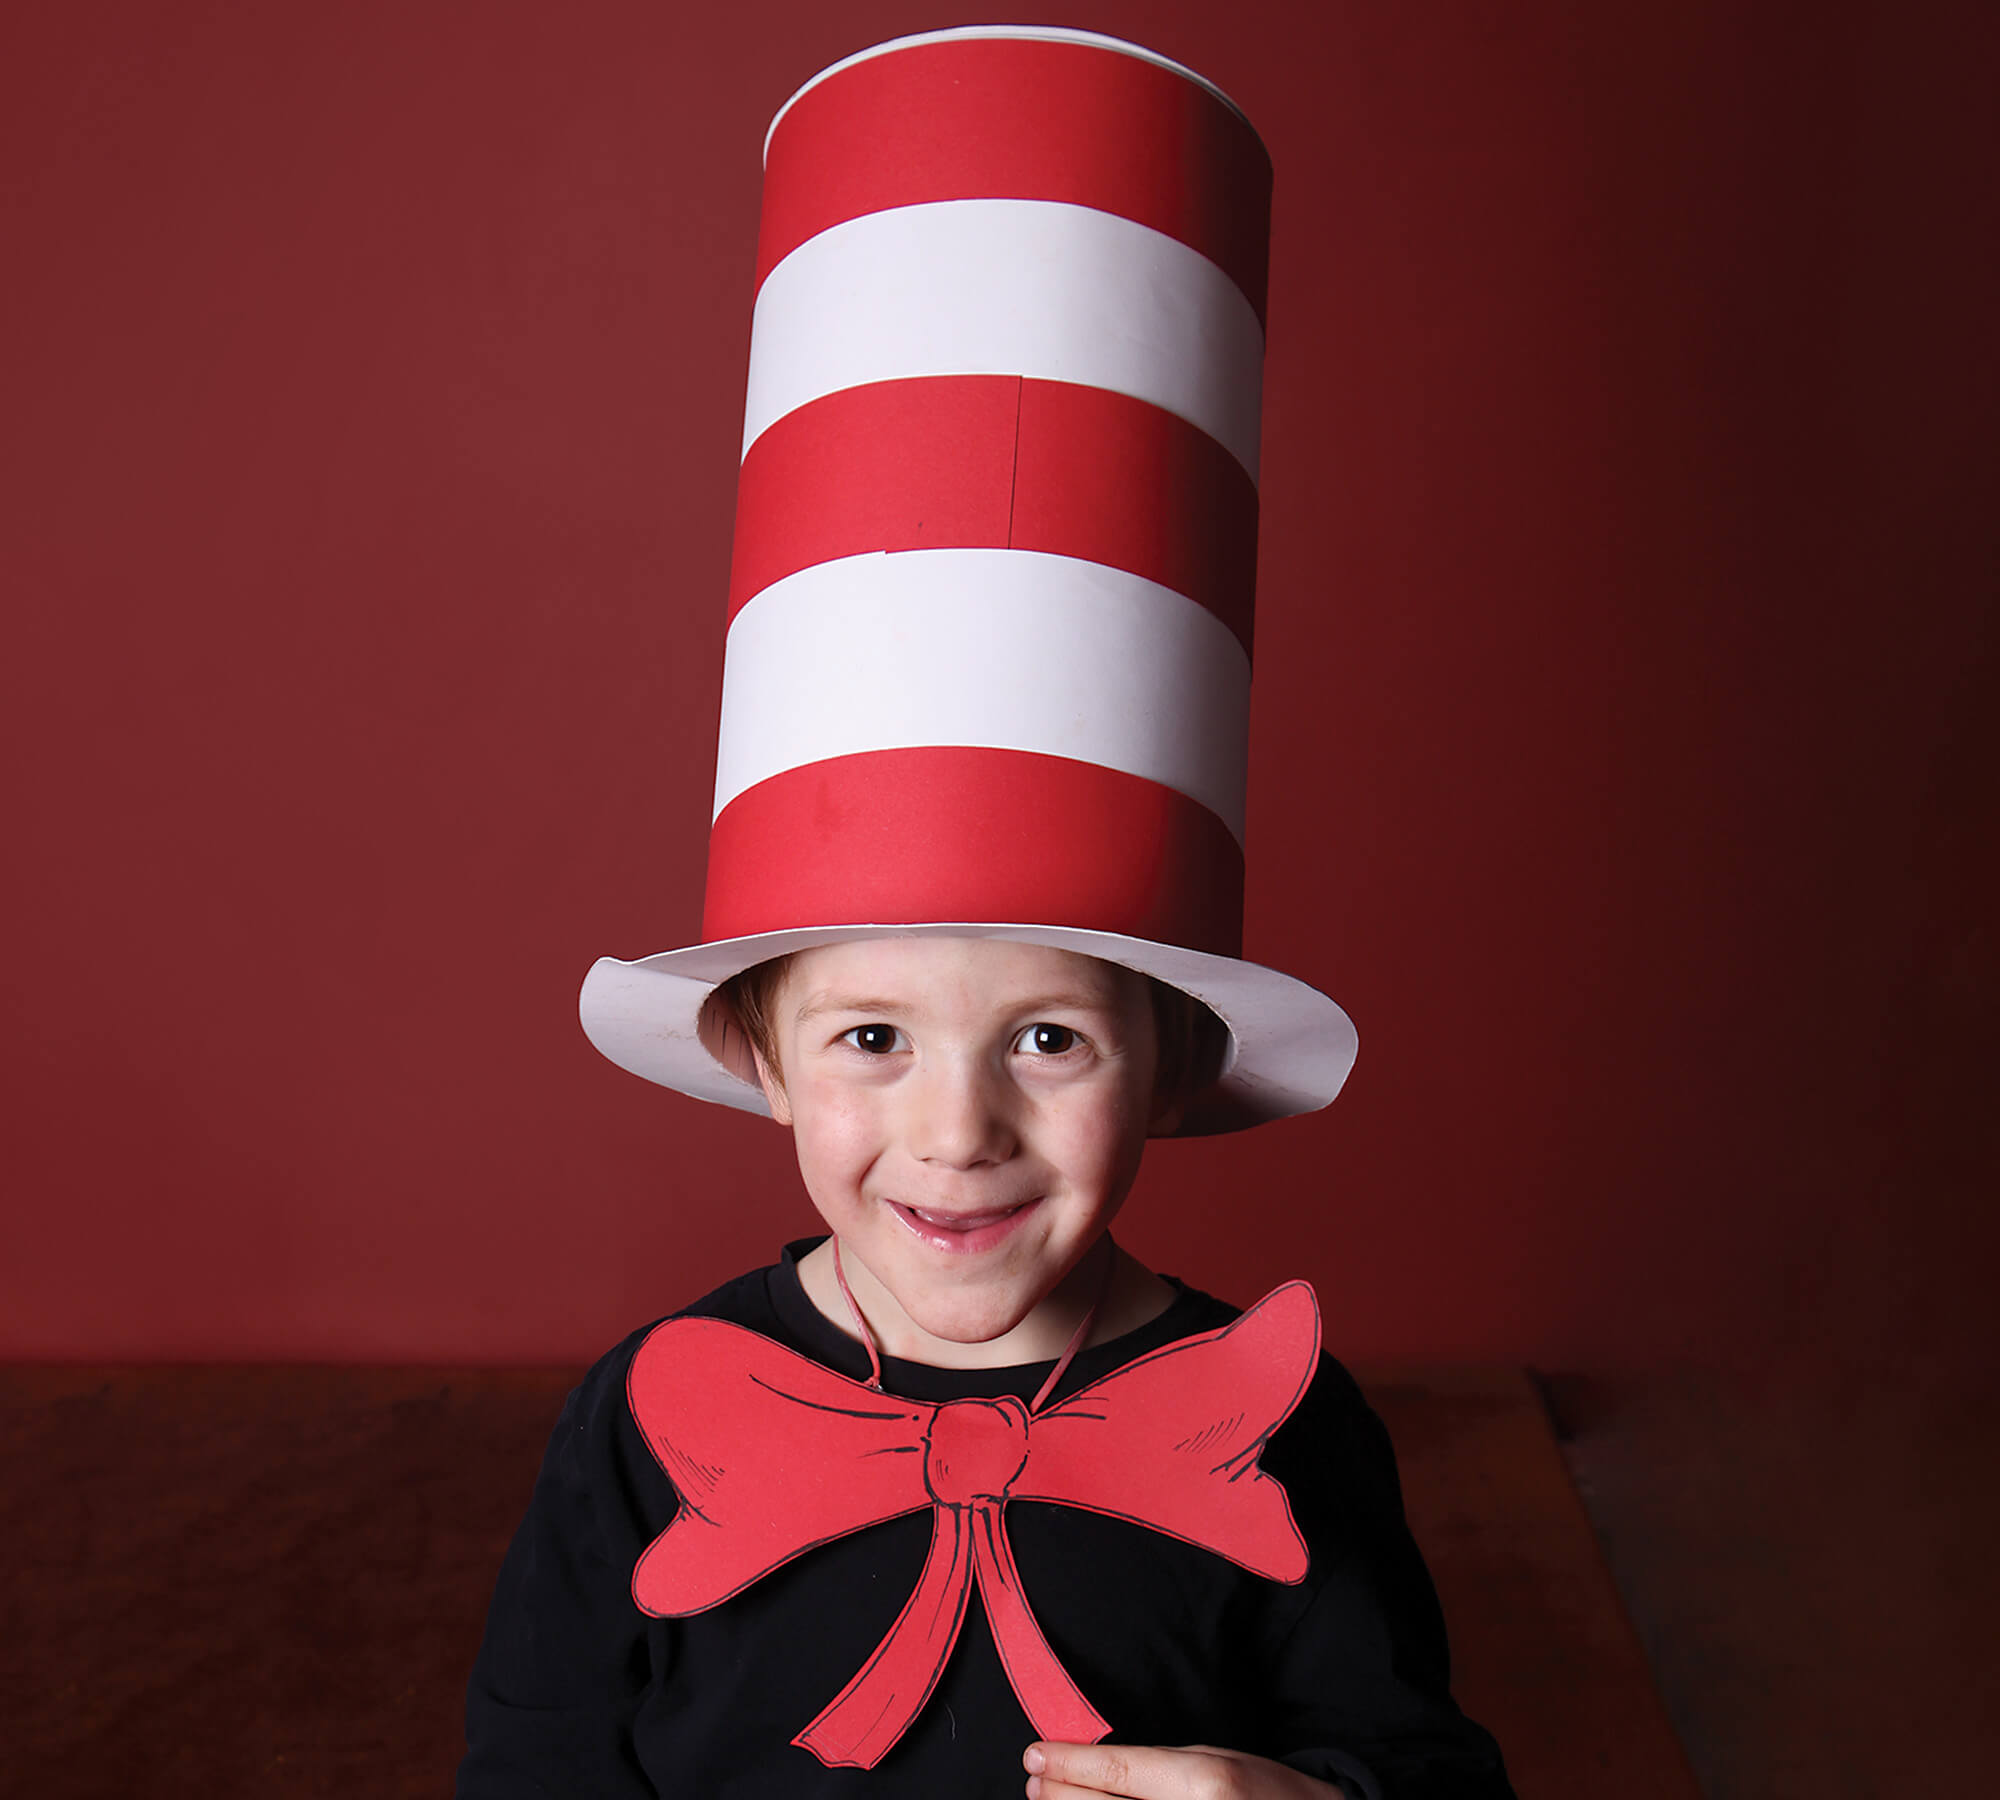


Go all out on your kid’s school book character dress up day, with this unique DIY Cat in the Hat costume.
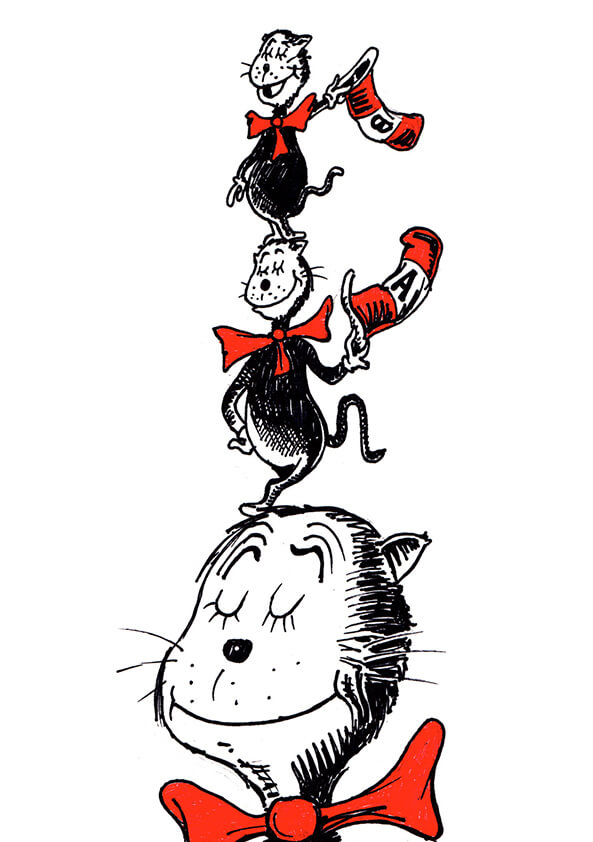
And when I say all out, I mean all out… because no other costume has pop-up cats! Yes, pull a cord on the side of the hat, and out pop little cats A, B and C!
Step by Step Guide
The pop-up version is a little tricky, so I’m including instructions for a DIY Cat in the Hat costume that kids can open by hand… as well as the pull-cord version.
To get the Cats in the Hat and Bow tie artwork, subscribe below - they were drawn by me, based on Dr. Seuss’s originals.
Sorry, these instructions are looooong… let’s make a start…

Step 1: Trim a sheet of A2 white card (210gsm) to a height of 315mm, leave the length as it is.
Step 2: Roll the card into a tube and fit it onto the wearers head, mark the length with a pencil.

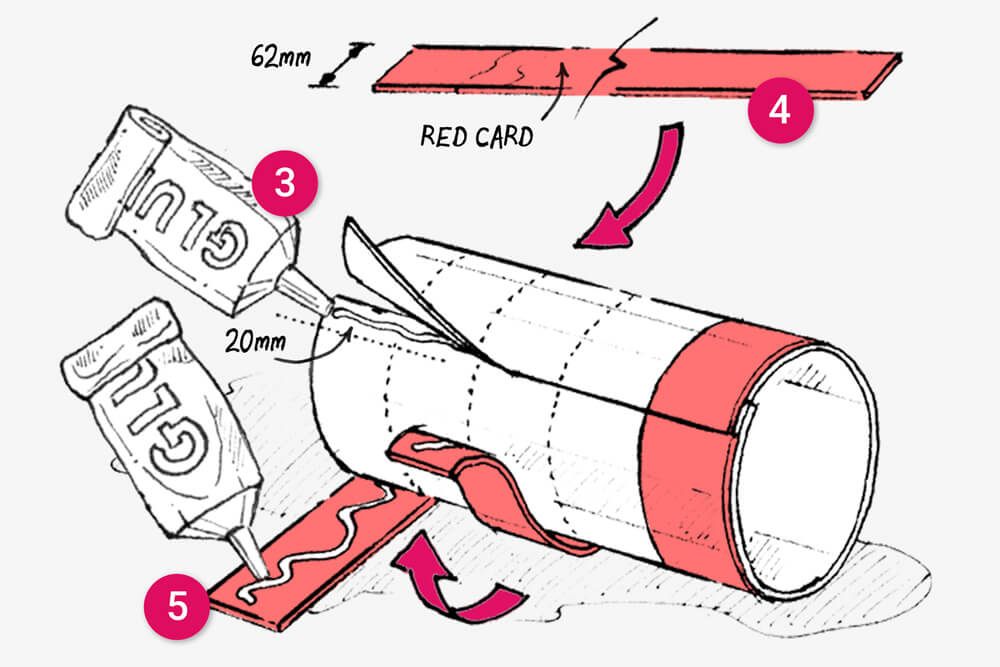
Step 3: Add 20mm for an overlap and then trim, apply glue along the overlap and reform the tube.
Step 4: Cut 3 strips of red card 62mm wide, and long enough to wrap around the tube.
Step 5: Glue them around the tube at even intervals.

Step 6: Place the tube onto a piece of corrugated card (Foamcore would be even better!) and trace around it using a pencil.
Step 7: Use a compass to neaten the circle.
Step 8: Cut it out and adjust it until it fits within the tube.

Step 9: Use a ruler and compass to mark out the centre shape as shown and cut it out using a craft knife.
Step 10: Glue the remaining ring onto more white card (to cover up the beige cardboard!).
Step 11: Cut around the ring and trim off the access white card.

Step 12: Now glue the ring into the top of the tube.
Step 13: Cut out a circle of white card the diameter of the lid. Add a fold, inline with the square section of inner ring.
Step 14: Glue the smaller section divided by the fold onto the lid.

Step 15: Draw 3 concentric circles onto white card - one the diamter of the tube, one 38mm bigger and one 15mm smaller.
Step 16: Cut around the inner and outer circles and then snip the inside ring into lots of small tabs.
Step 17: Fold the tabs up, apply glue to the outside and attach to the inside of the hat (this can be a bit tricky!).

Note: This is the manually operated version, for ‘spring-loaded cats’ jump to step (24-31).
Step 18: Create a small box from corrugated cardboard and glue it to the bottom of the lid flap.
Step 19: Print the ‘cats in the hat’ artwork onto white card (210gsm) and cut them out using scissors.
Step 20: Fold the ‘cats’ in half and glue the top half onto the box.

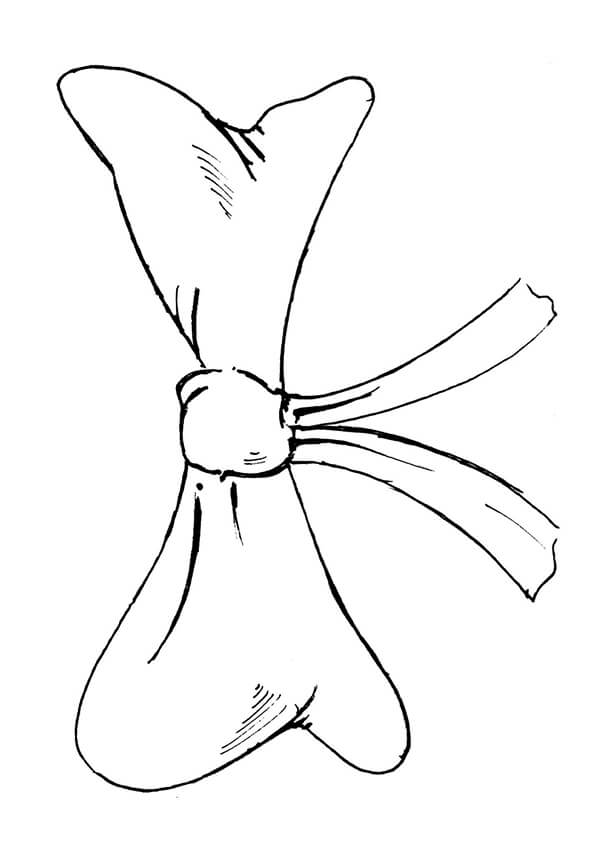
Step 21: Print the ‘bow’ artwork onto red card.
Step 22: Use hot glue to attach two paper clips to the reverse side.
Step 23: Cut a long rubber band in half and tie one end to one of the clips, tie the other end to a paperclip fashioned into a hook.
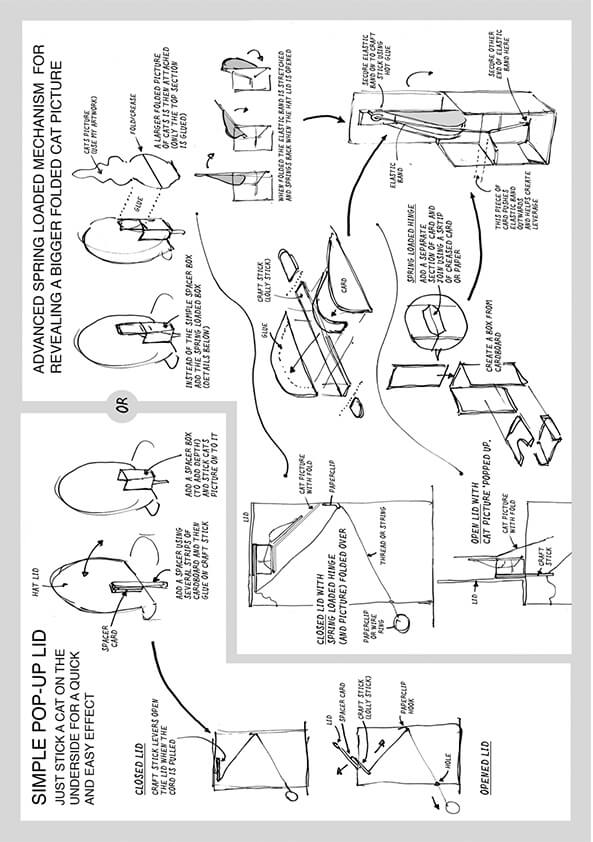
Spring-loaded Cats
The following steps replace steps 18-20.

The key to this approach is a spring-loaded hinge that opens up the Cats in the Hat drawing when the lid is opened by pulling a cord.

Step 24: Start by glueing one half of a lolly stick onto two strips of corrugated card and glue to the bottom of the lid flap.

Step 25: Now make a small box from corrugated cardboard. Add a ‘spacer shelf’ to push the elastic band outwards, this improves the leverage.
Step 26: Attach a separate corrugated card flap by glueing on a ‘paper hinge’ (a strip of thin card creased down the middle), this helps the flap to move freely.
Step 27: Glue a lolly stick onto the inside of the flap, overlapping the hinge. Construct a rounded ramp from thin card (210gsm) and glue it onto the top of the lolly stick. Attach an elastic band with hot glue to the top of the lolly stick, run it over the ramp, and ‘lock’ it into a slit in the bottom of the box.

Step 28: Finally, glue the ‘hinge box’ onto the inside of the lid flap, over the top of the lolly stick lever.

Step 29: Use hot glue to attach a paperclip halfway up the inside front of the hat.
Step 30: Now run the pull cord thread through a hole in the back of the hat, through the paperclip loop and glue it onto the bottom of the lolly stick. Continue the thread to the side of the hat and secure with more glue, this short section will prevent the stick being pulled beyond the vertical position.

Step 31: Print the ‘cat in the hat’ artwork onto white card and cut it out. Fold it in half (inline with the middle cat’s tummy) and then bend it backwards and forwards to ‘loosen’ the fold. Glue the TOP of the card onto the TOP flat of the ‘hinge’, ensuring the fold is inline with the centre of the hinge.
All done, you should now be able to fold the picture in half and close the lid. Pulling on the cord will now open the lid, and once the top half of the picture is free of the hat’s rim, it should spring open!
Hopefully this is enough detail to get you going!
Materials List
- A2 sheet of white and red card (210gsm)
- Corrugated cardboard/Foamcore board
- 1 lolly stick (for the pull cord version)
- Paper glue
- Scissors and craft knife
- Ruler, pencil and compass
Creative Takeaway
Cardboard is more versatile than you think… with a bit of ingenuity it can even be used to make mechanical contraptions!
